3

Has anyone on here converted the 4559 cargo train to powered up?

I've seen similar questions but not about the set in question. The locomotive is really small and I would rather not have a wire between it and the first train car.

I have also seen an MOC from Bulletbricks (now defunct) for this exact purpose. I was not able to contact them to get the plans.

New contributor
GrowABeard is a new contributor to this site. Take care in asking for clarification, commenting, and answering. Check out our Code of Conduct.

2 Answers 2

3

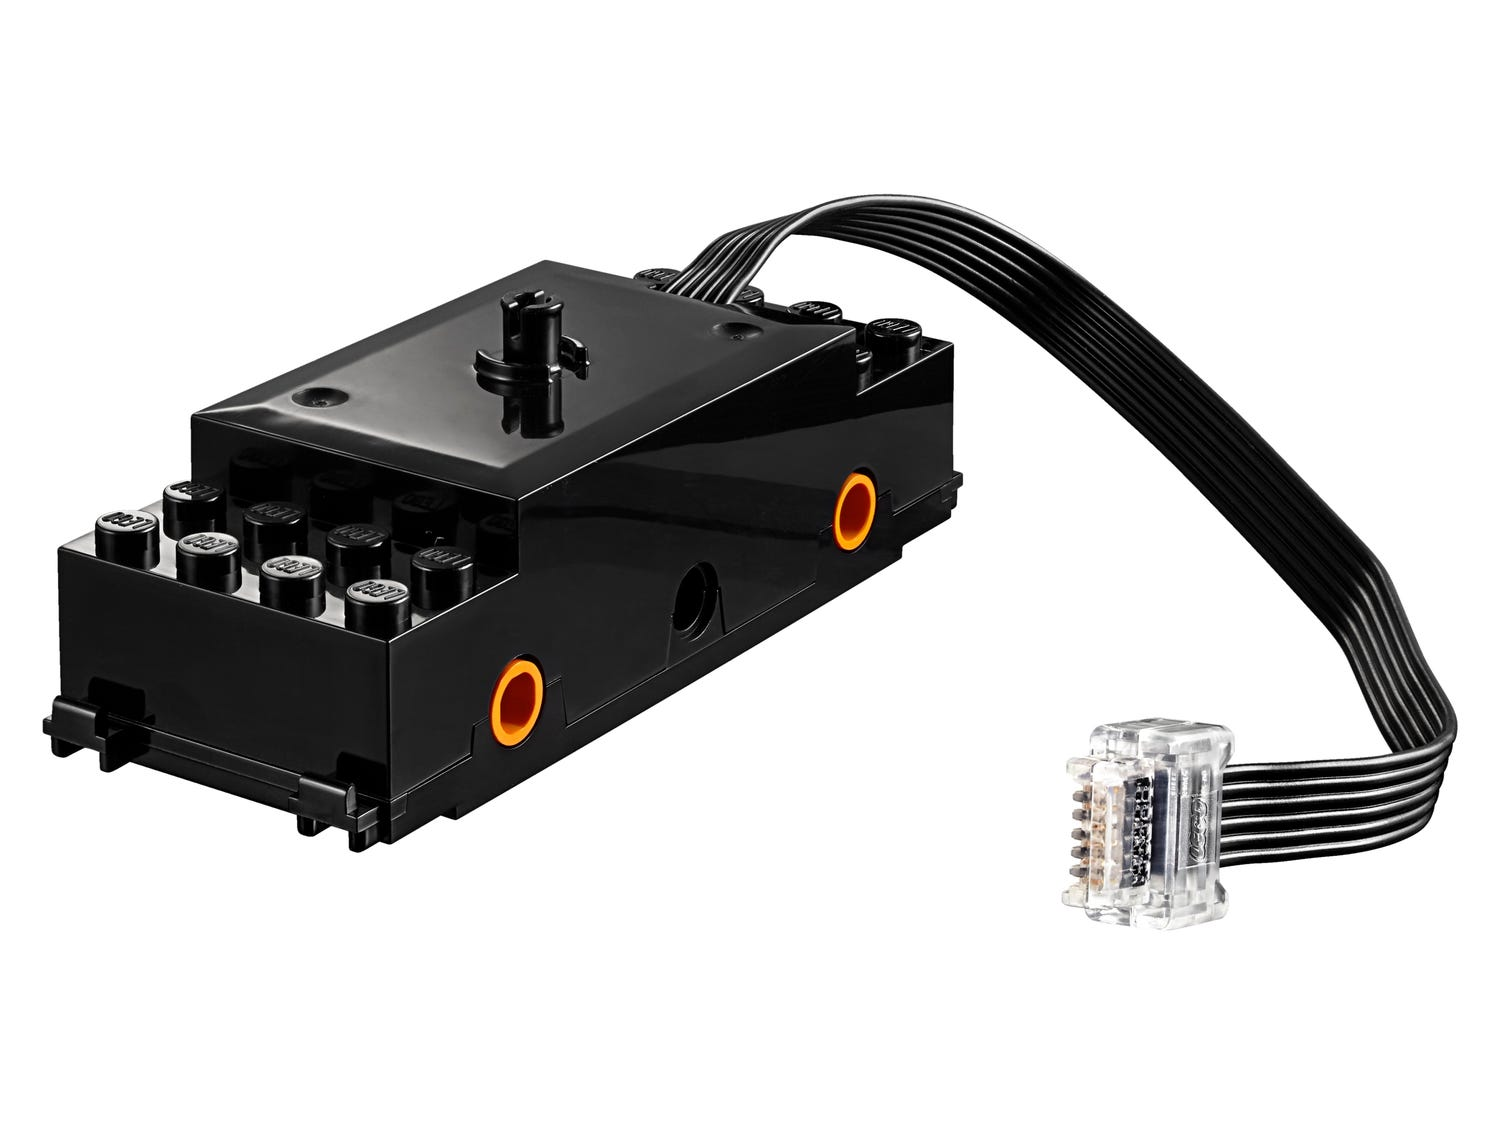
I haven't done this, but it looks like it should be possible to motorize this set with Powered Up. I don't think you can fit the battery box inside the locomotive like you are hoping. Here's the motor that needs to fit:

Train motor

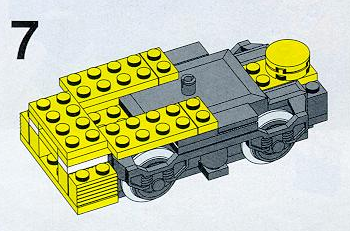
Here's the base of the locomotive:

Locomotive base

It appears that there is room for the wire on the Powered Up train motor to leave towards the front.

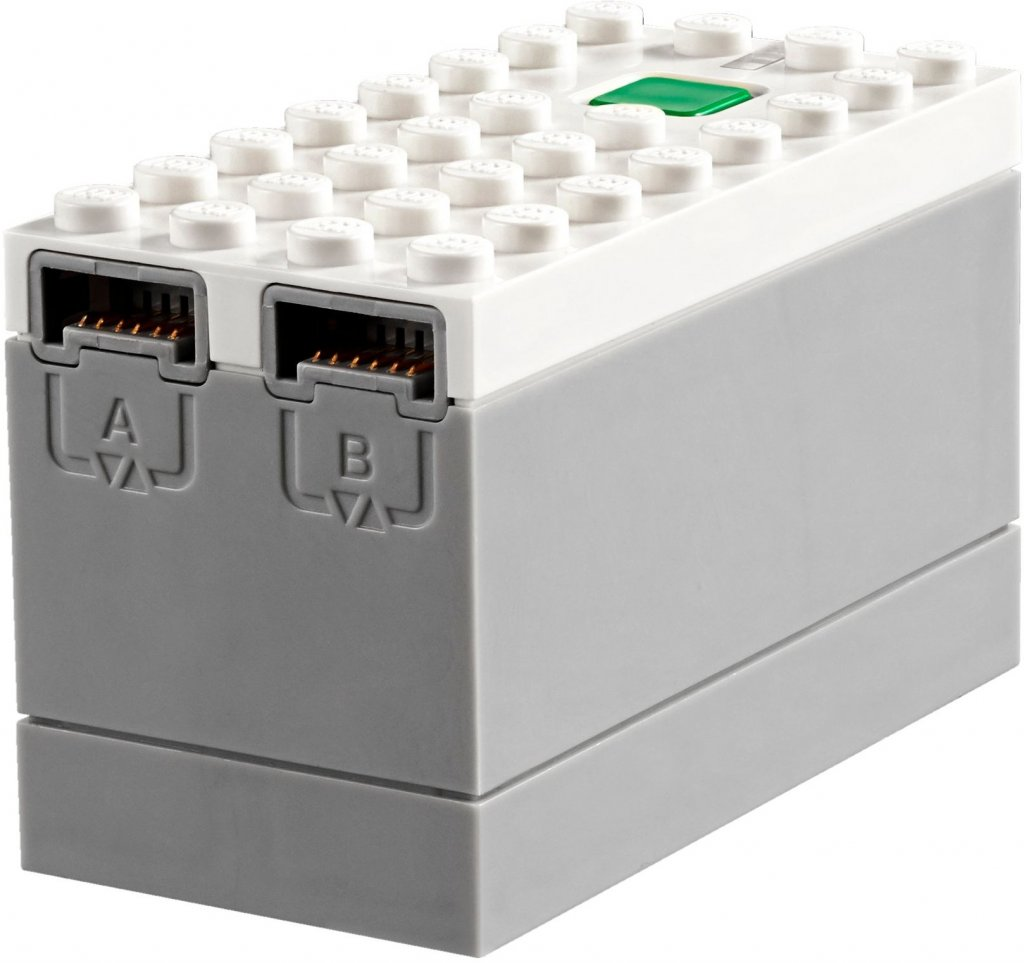
Here's the hub that also needs a place:

City Hub

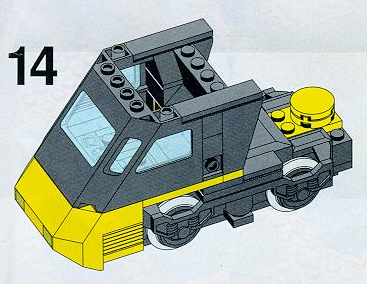
It's not massive, but I don't see any way it could possibly fit inside this locomotive without significant modification.

Locomotive with upper section nearly complete

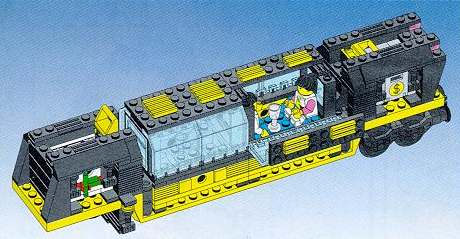
I think that the easiest way to make this work would be to adjust the first car so that it has room for the battery box.

Car 1

3

Following up on @jncraton's answer, I've recreated the set in LeoCAD. Since the size and shape of the 88011 motor is the same as the 9V motor, the main issue becomes fitting the battery box. This is difficult since the conductor cabin is less than 8 studs long, so the prime target becomes the front part of the first car:
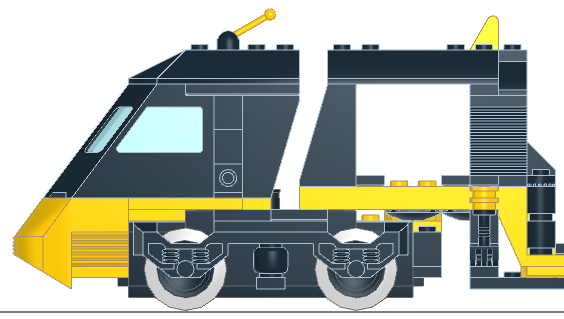
Side view of cabin and front of first car

Trying to fit the battery on the front car won't work, since it will touch the roof of the conductor's cabin, thus (a) preventing the train from rotating and (b) blocking the ports of the battery hub:
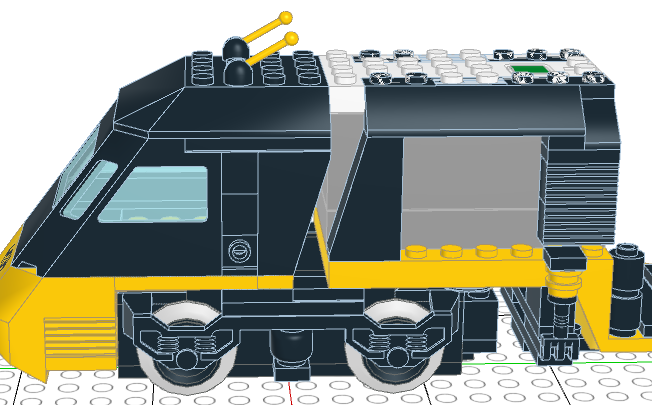
battery touching cabin

I therefore suggest elongating the front of the first car by one stud. Use two stacked 1x6 yellow plates to prolong the train car's baseplate (you'll also need to move the parts attached to the underside of the car, those which make up the pivoting mechanism):
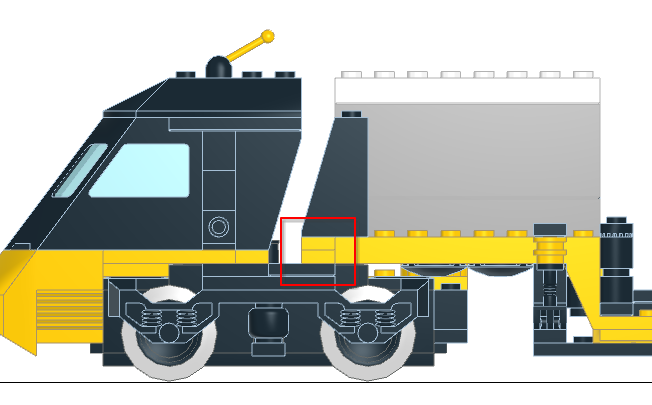
Side view, with prolonged base

I don't see a feasible way of routing the cable through the back of the motor; the only viable alternative is routing it from the front. Replace the highlighted 2x4 yellow plate with a 2x3, and replace the highlighted 1x4 black brick with a 1x4 arch. That should give you enough room to route the cabling (at the expense of the train's conductor not having a good place to sit):
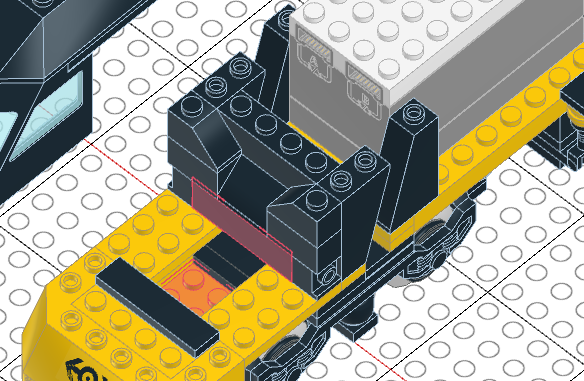
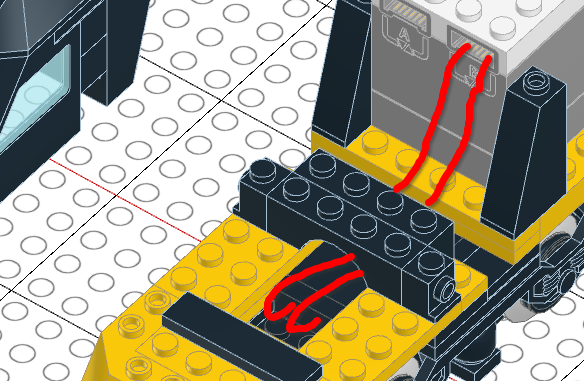
perspective view of the model with two parts highlighed perspective view, with a sketch of the cable routing

Finalize by covering the battery box with black bricks - e.g. 1x2 bricks with grille, cheese slopes and tiles:
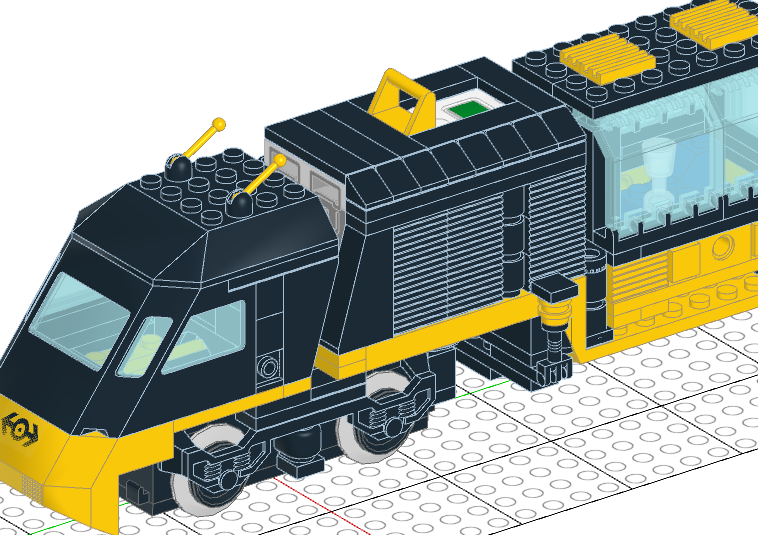
finalized assembly

Your Answer

By clicking “Post Your Answer”, you agree to our terms of service and acknowledge you have read our privacy policy.

Not the answer you're looking for? Browse other questions tagged or ask your own question.