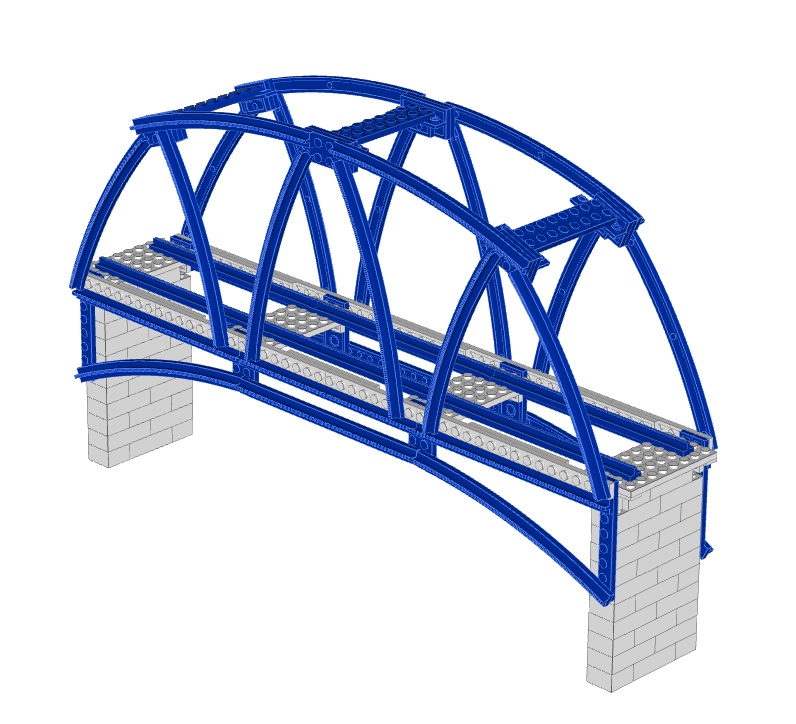
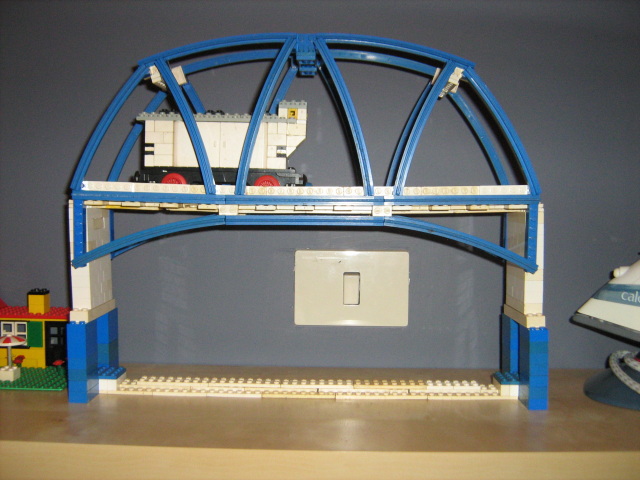
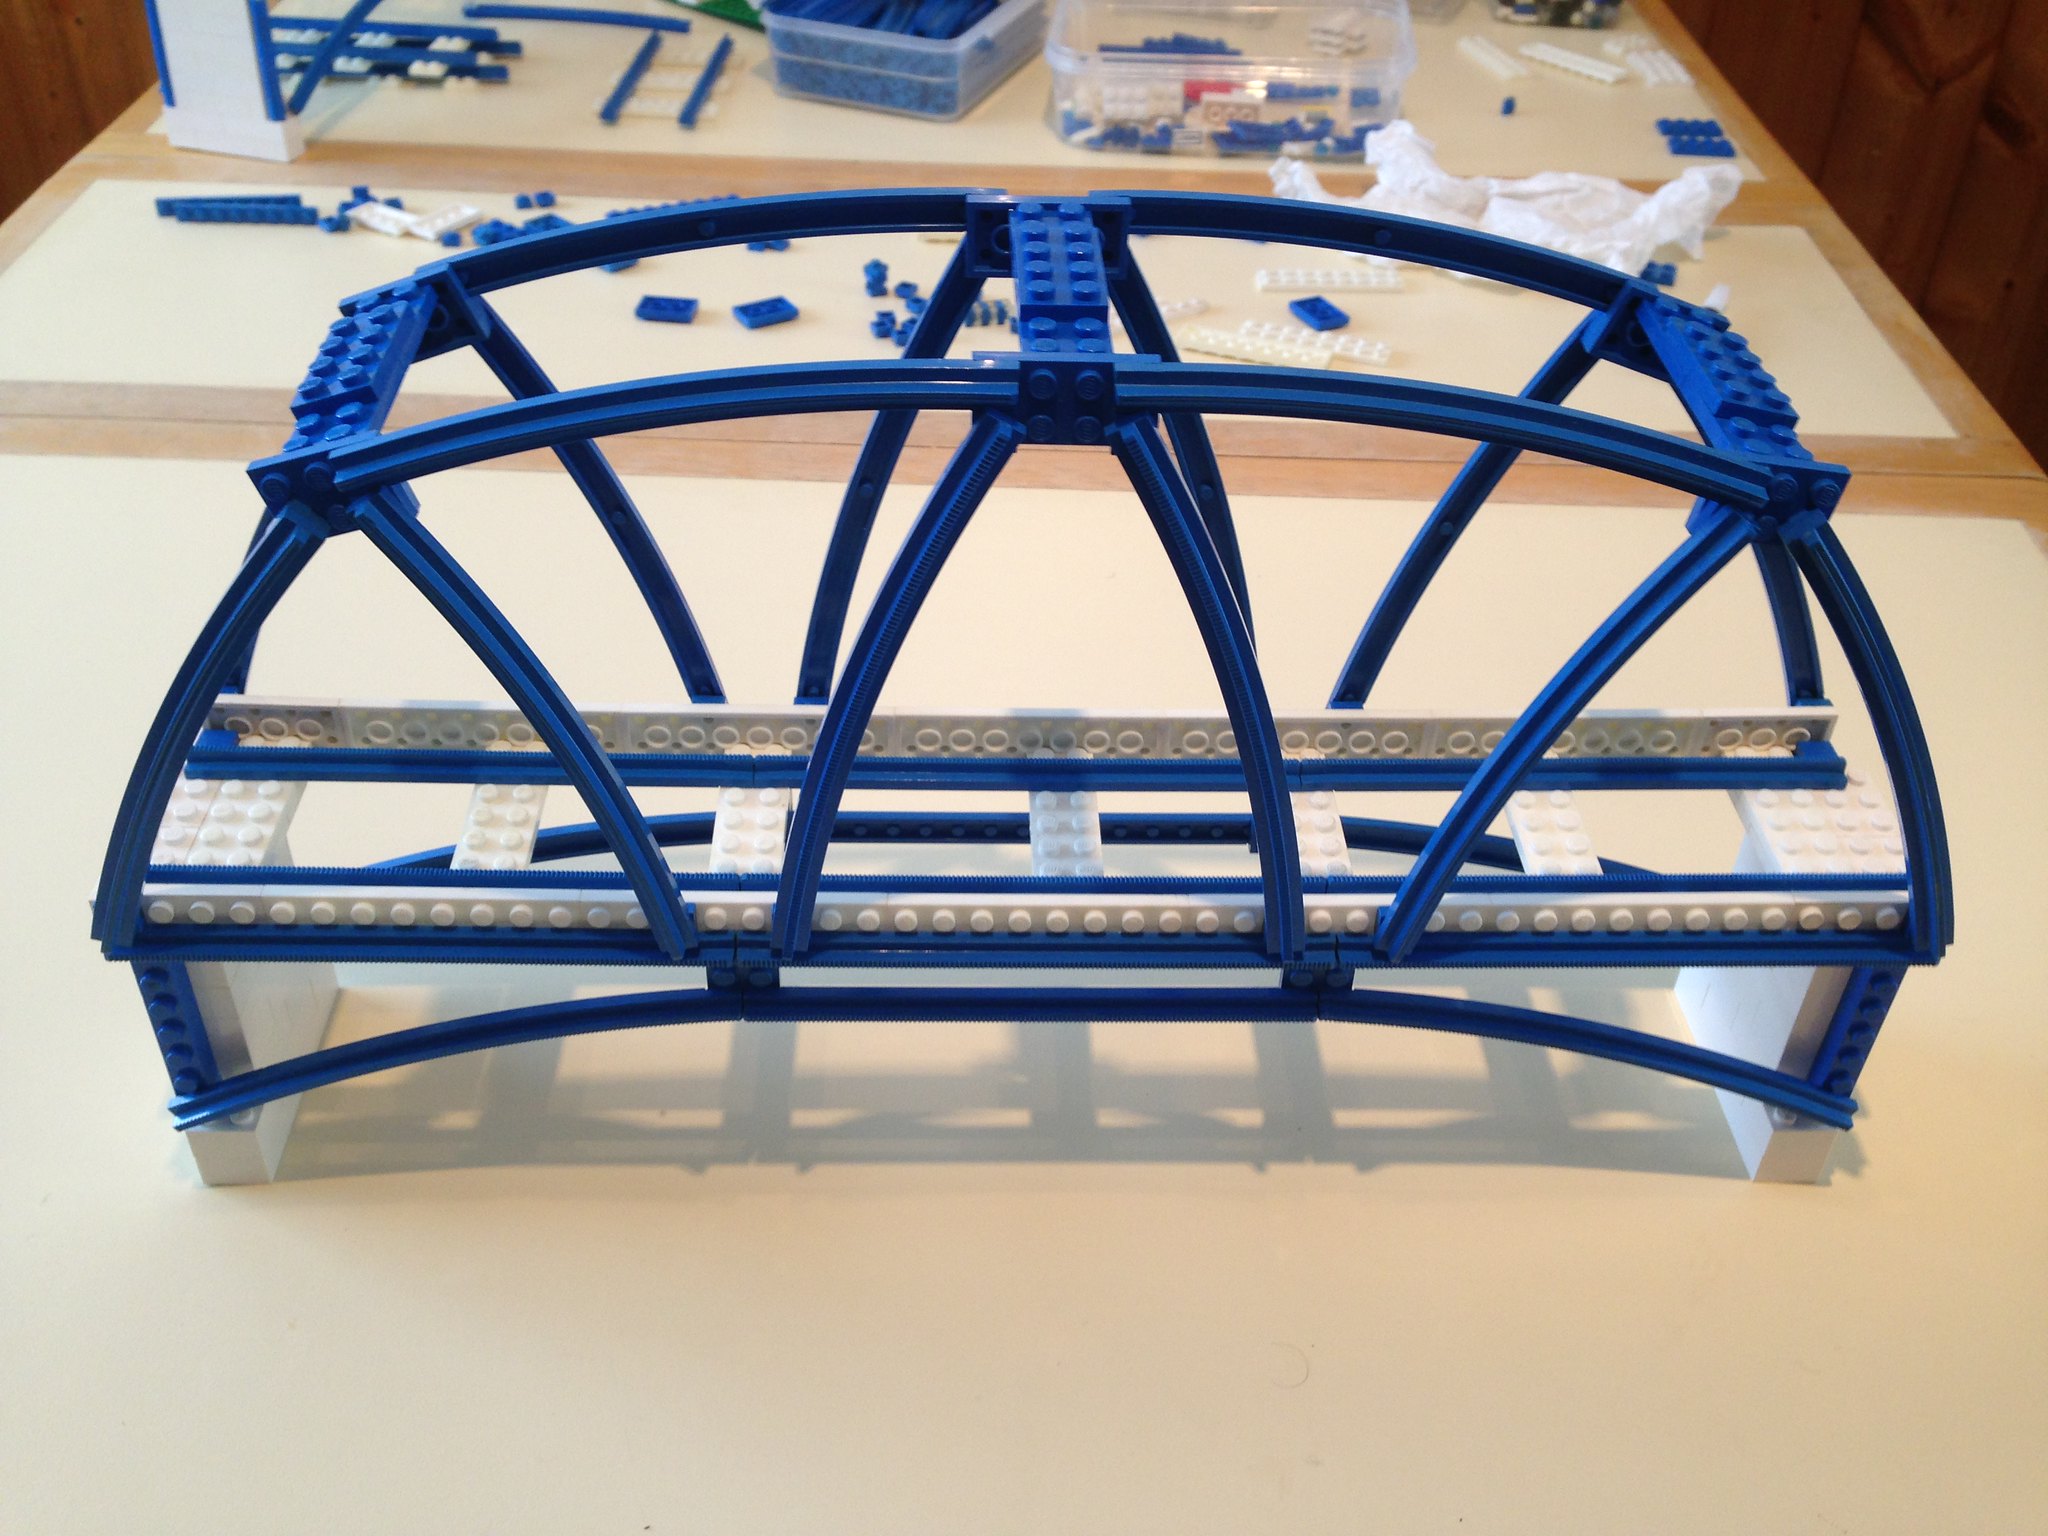
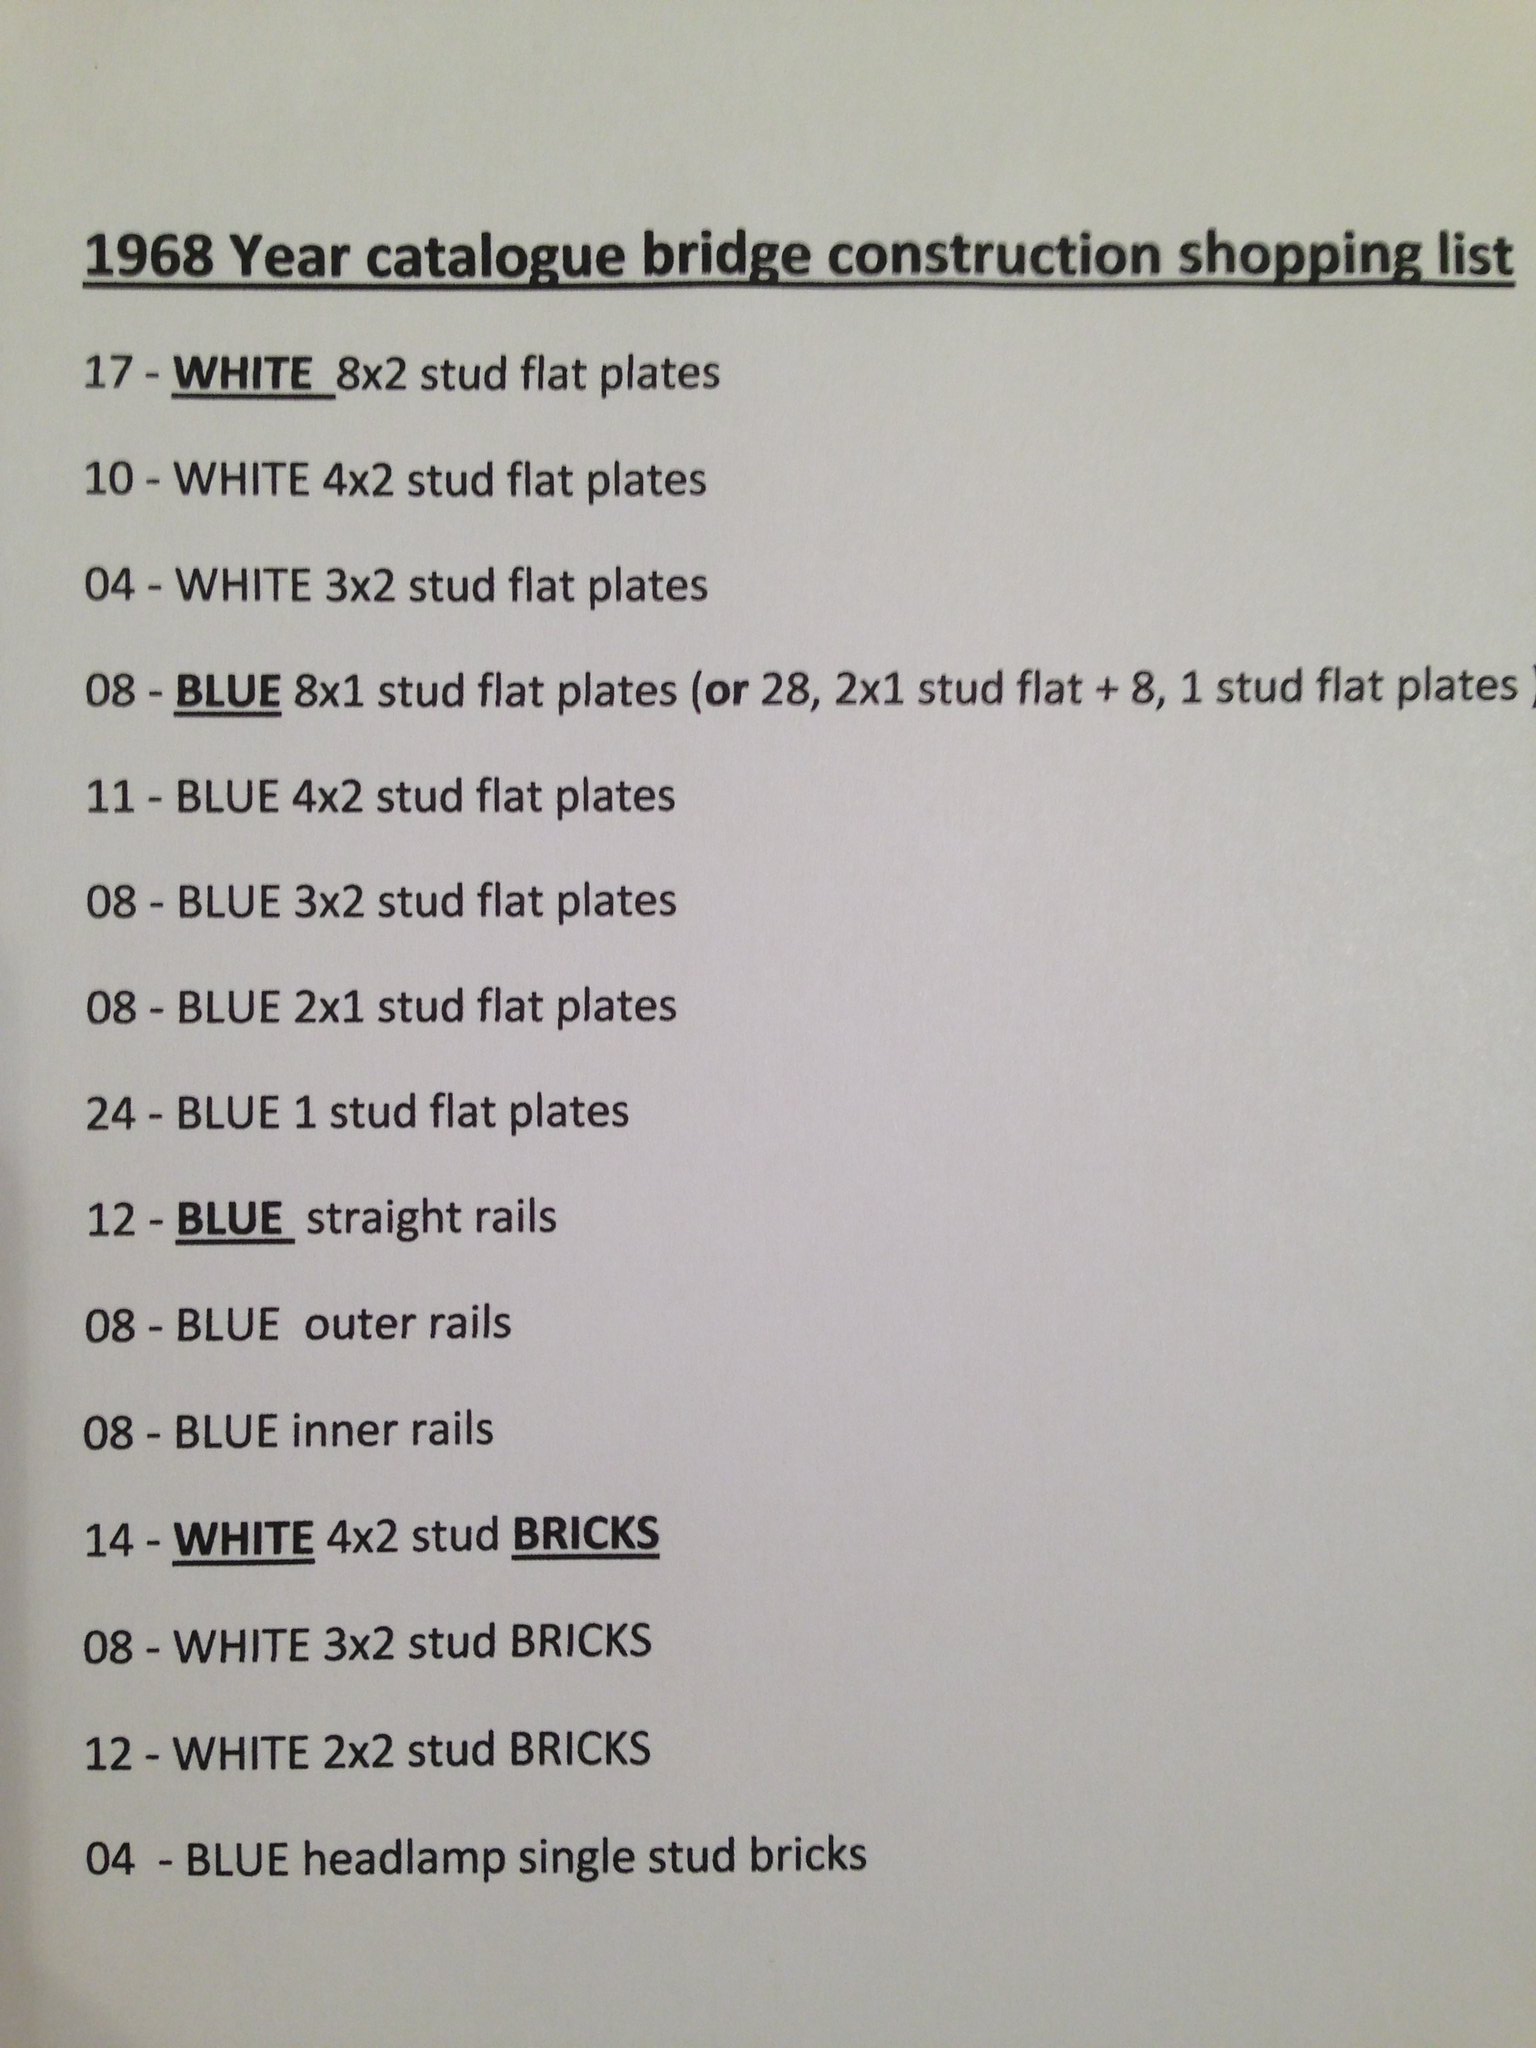
I am interested in building a bridge for my layout and stumbled upon this forum post in which user 'Istokg' posted a picture of a train bridge made from the blue rails used in the pre-1980s train sets.
This is from a 1969 Lego publication which has been scanned and uploaded to brickfetish.com and can be found here.
Obviously this could be built with either the blue rails as shown or even the newer grey rails. My question is: can anyone provide insight, (or even better, building instructions), on how it is constructed. Even the larger picture in the scan is still too small to see exactly how the rails are fixed to the main structure.
--------- Edit ---------
I finally have all of my Lego spares in one place and have had time to try a prototype build of the bridge using @62Bricks' LDraw file, but I have hit upon a problem:
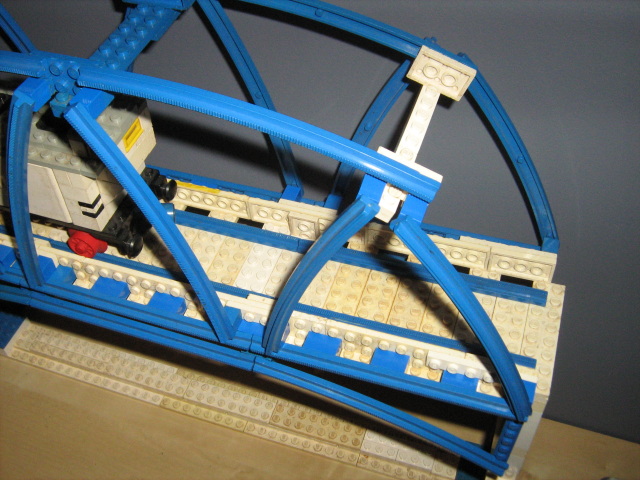
The angles of the vertical rails where they connect to the plates at the top are such that it is not possible to attach the curved outside rails. This is best illustrated by the picture below:
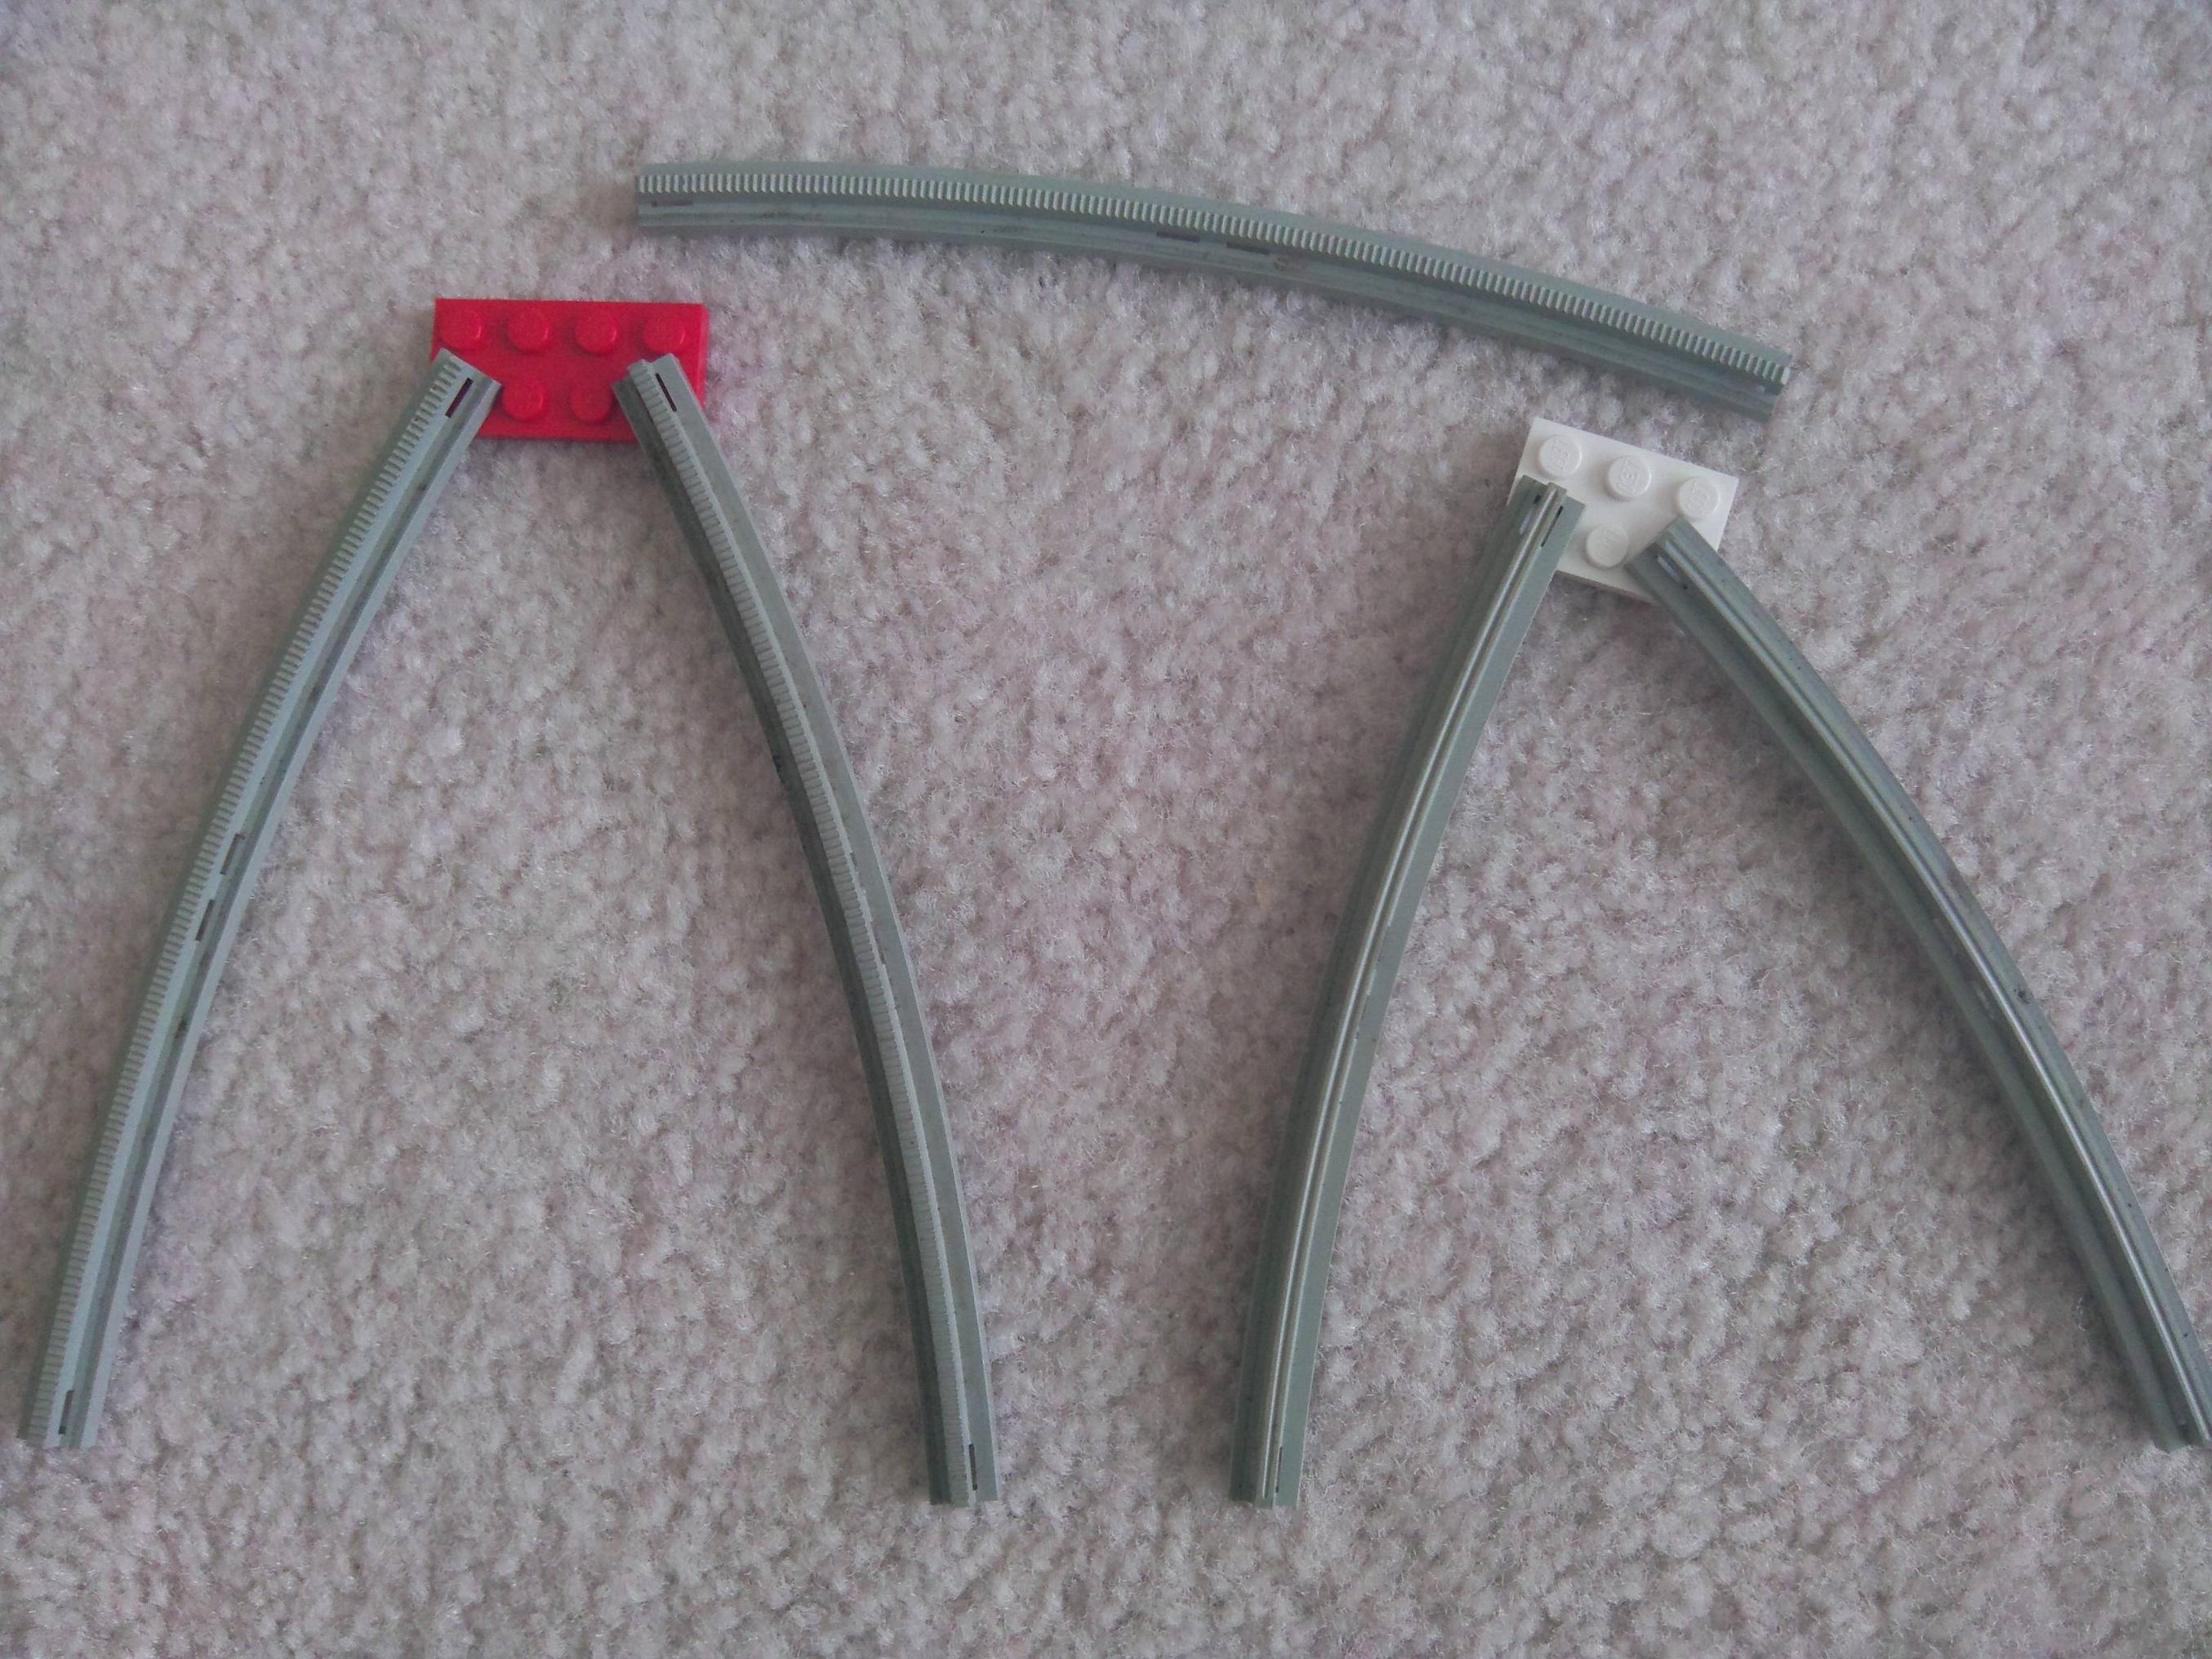
As you can see, there is no way to attach the upper rail as the vertical rails attached to the studs on the lower row of the plates almost touch the studs on the upper row.
I thought at first this was due to my using 'Gray-era' rails rather than the 'Blue-era' rails used in the 1969 bridge and in @62Bricks' LDraw file but as far as I can see there is no difference between the two that would affect the outcome here. (I don't have any blue rails to test though).
Further supporting evidence is that at high magnification in LDraw, the stud on the plate can be seen protruding through the end of the rail, which is impossible in practice.
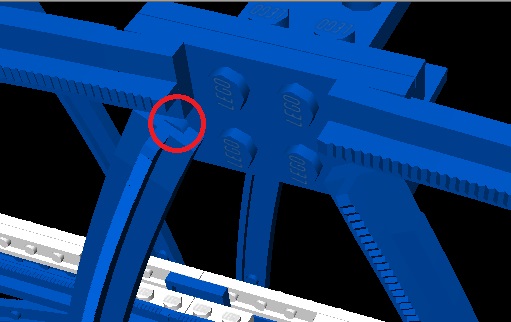
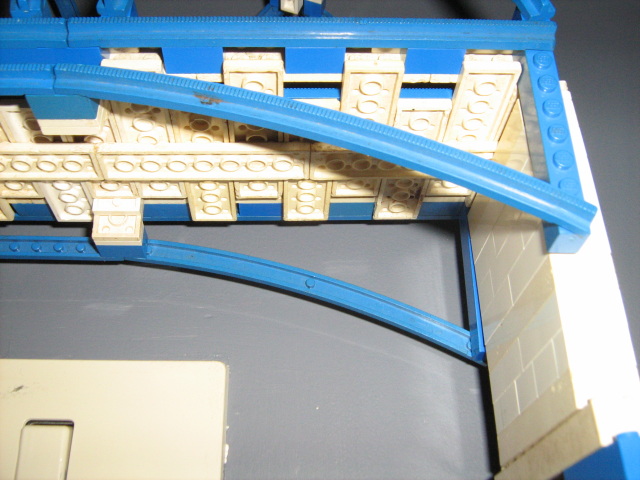
I do happen to have a straight rail where the end cap is broken off, I tried this with the approximate angle of the curved rail and was able to achieve something that looked about right:
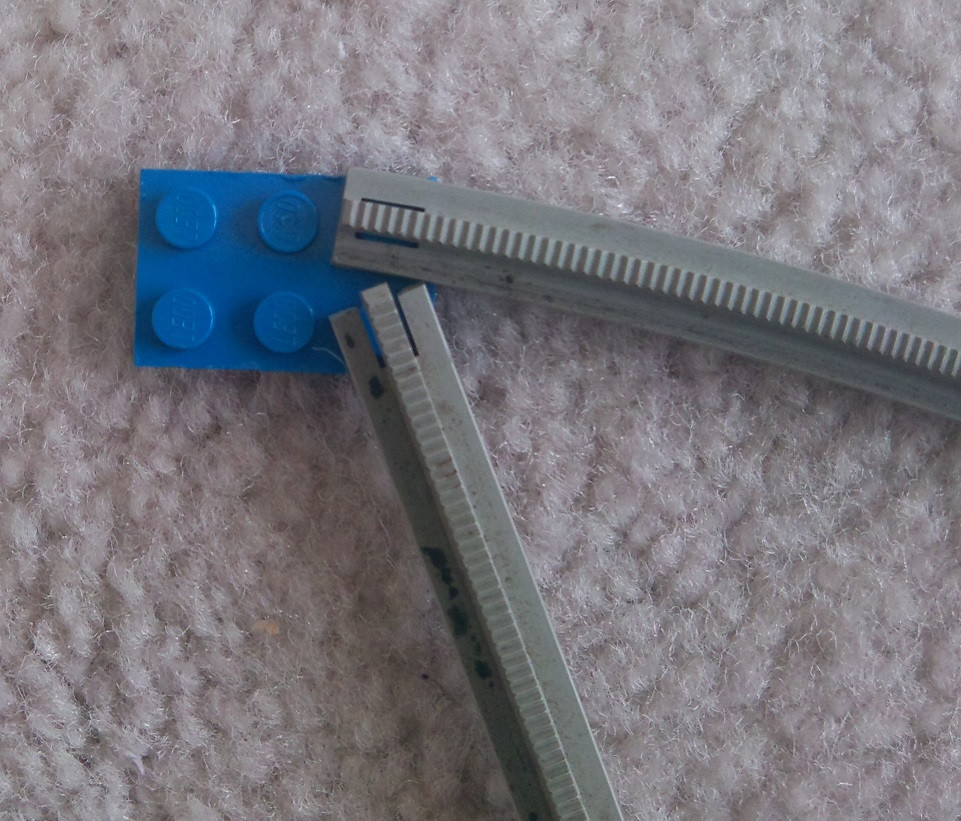
I don't want to have to break the ends off my rails to make them fit and also the grip of the broken rail on the stud was much reduced, so I doubt a bridge made with this method would hold up well with the vibration of trains rumbling across it.
I am, therefore, stuck. I have my prototype bridge part built but I can go no further. I would love to hear any suggestions on how to proceed as well as any theories as to how Lego made the bridge in the picture work.
--------- Edit 2 ---------
After much experimenting with jumper plates and studying of the original picture, the solution was actually quite simple. (And identical to that suggested by @jcranton in the comments of the accepted answer):
By adding 1x1 plates under the connections to the vertical rails, the collision is avoided. (@jcranton's suggestion to use round plates I think is better than the square plates I have used).
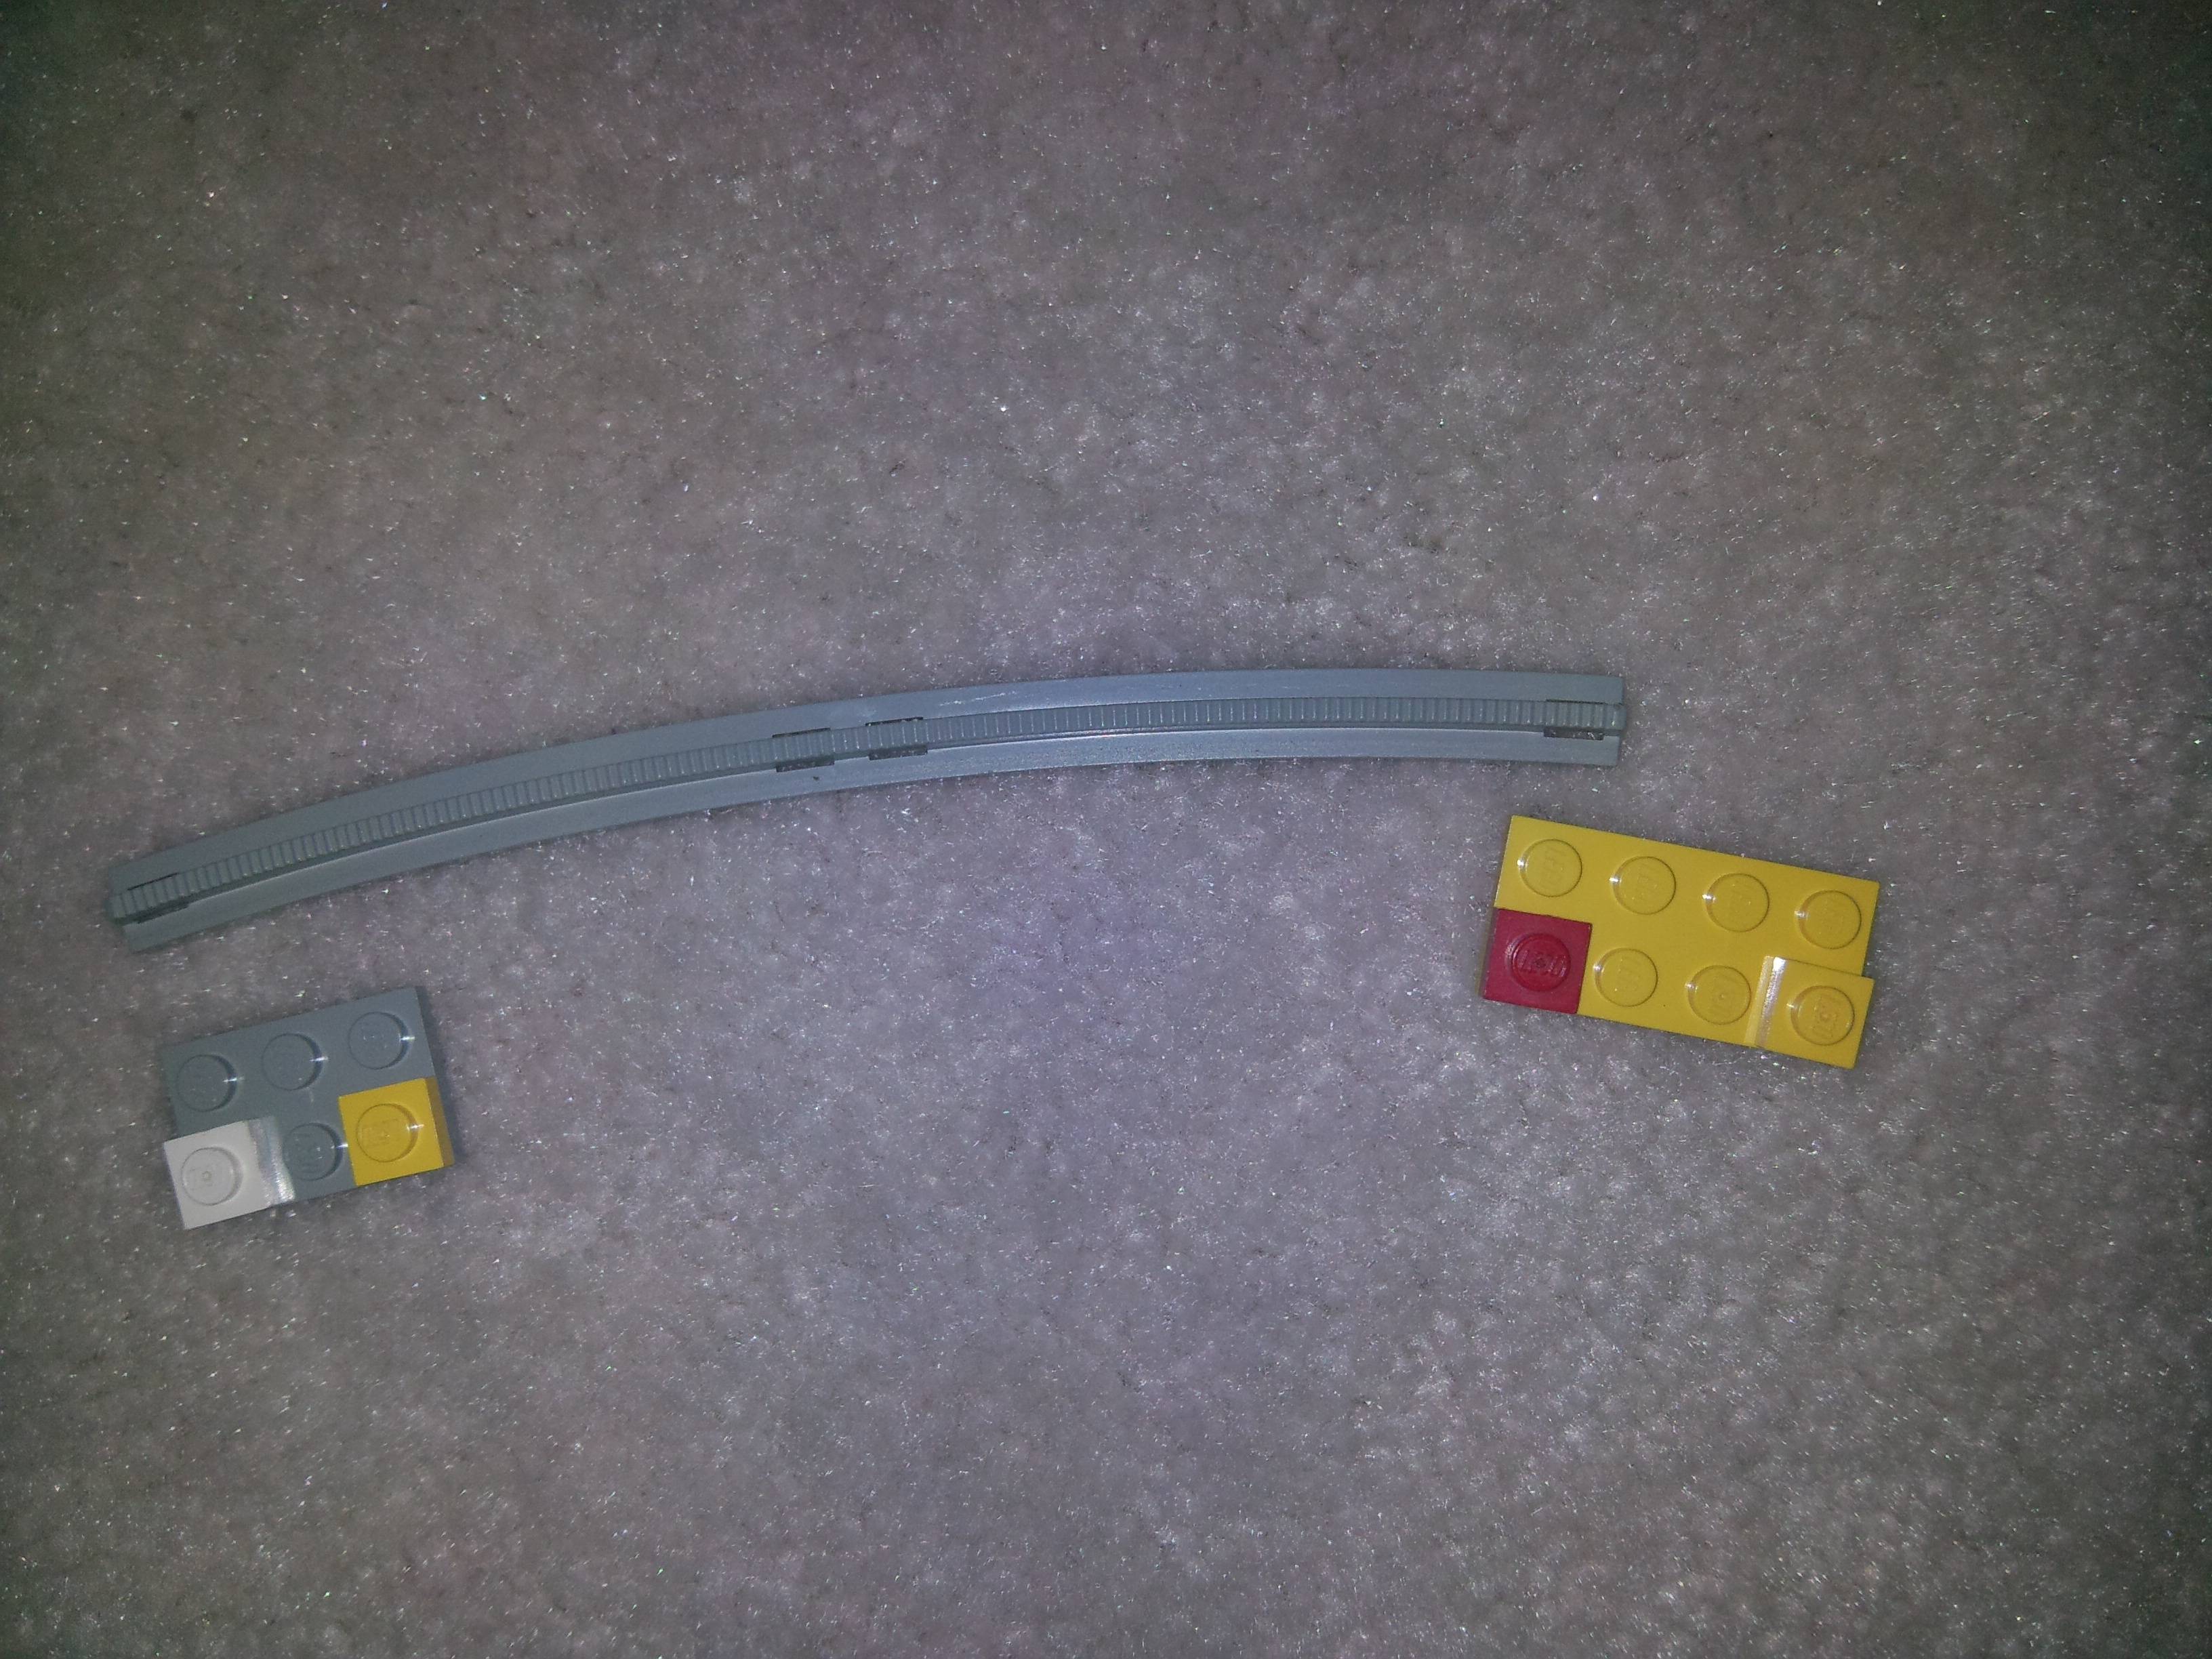
The method above also means there is no need for double stacking the plates as shown in the LDraw from @62Bricks.
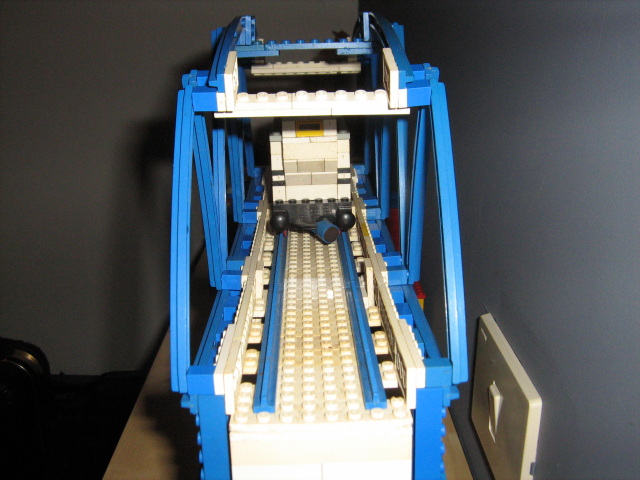
So my prototype is taking shape:
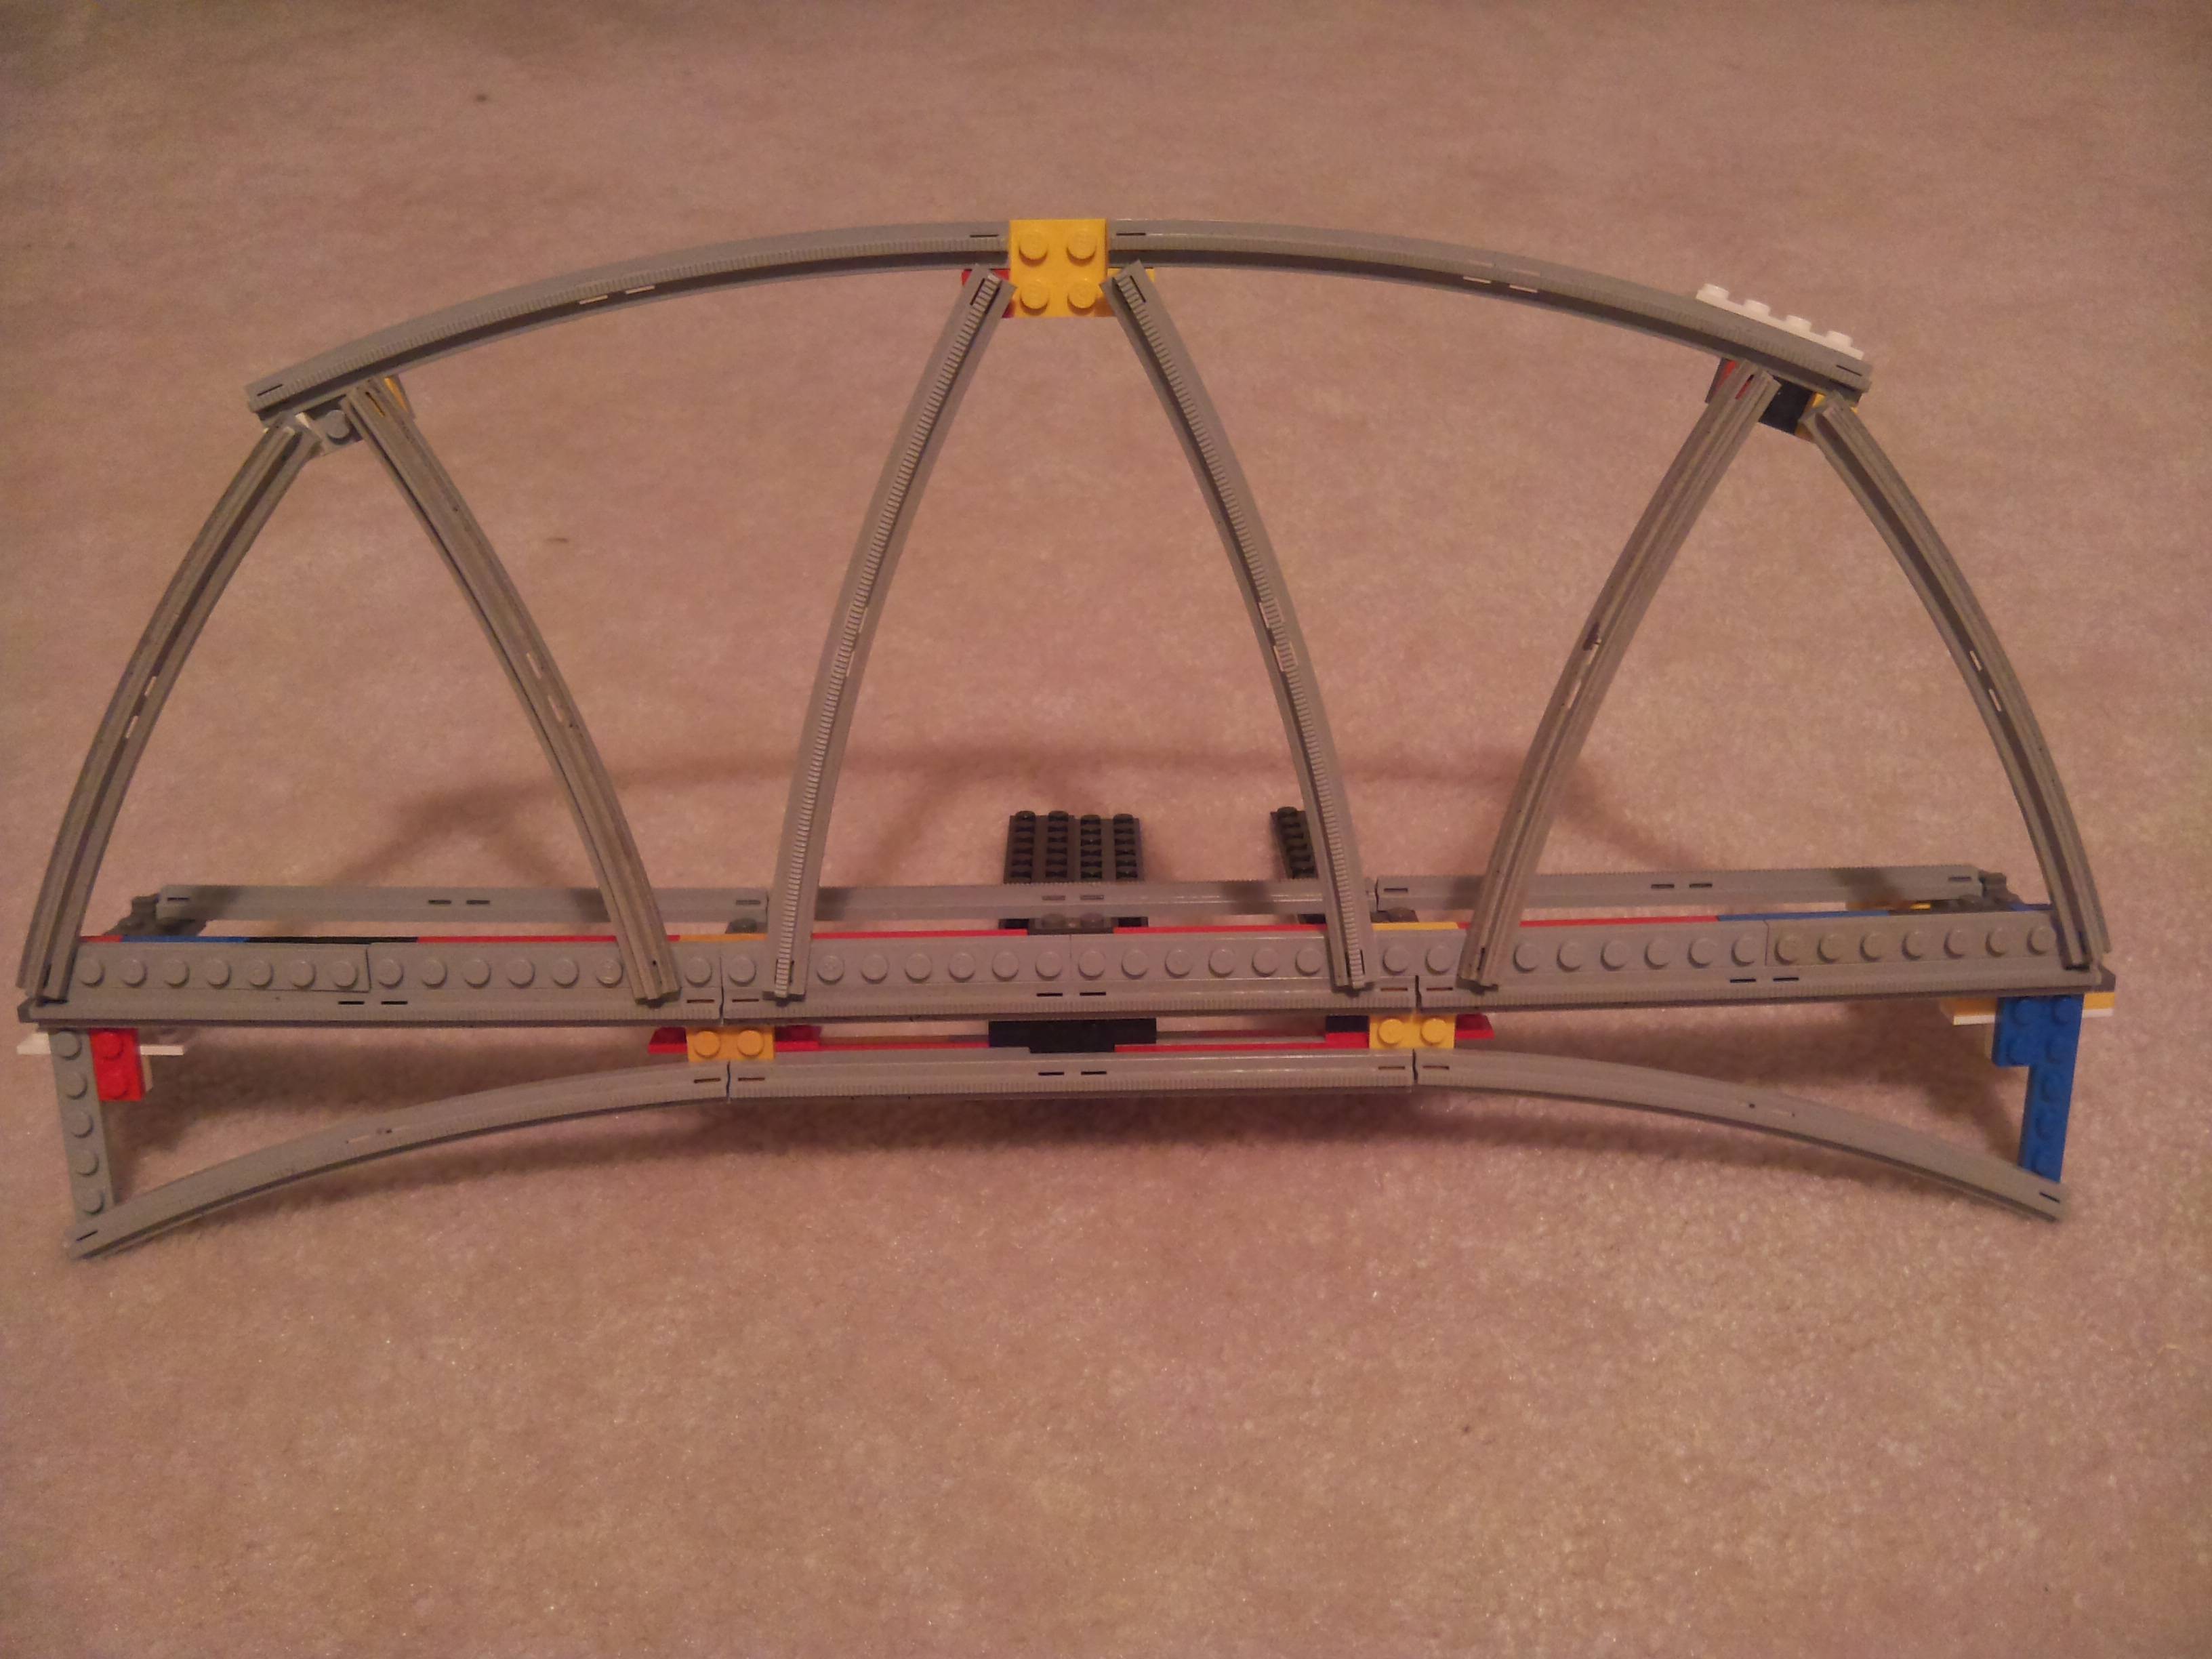
I have made a few other modifications, most notably dropping the level of the deck to accommodate the height of the trains I intend to run on it. I have also added reinforcement plates to the back of the sides to add rigidity as I intend to make the bridge wide enough for two tracks.
