7

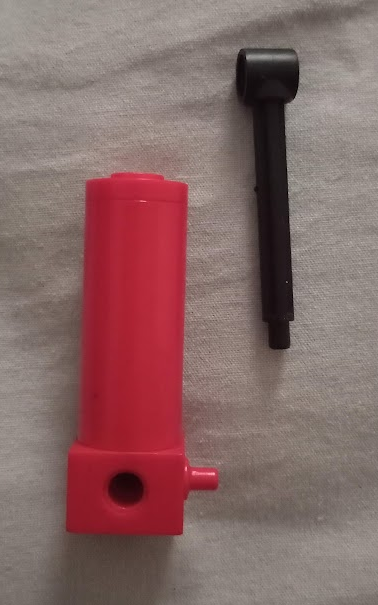
I have a Lego Technic set 8040 from 1984 with the first version of the pneumatic cylinder. Unfortunately, the shaft on the cylinder broke.

Apparently the top of the cylinder (lid) is glued. Is there a way to soften the glue (maybe with warm water) and open it? Or is my best option cutting it open and than gluing it again?

enter image description here

1
  • 1
    I have no experience with this specific piece, but I'd guess warm water shouldn't affect the glue. If it were to do so, then the glue could easily be softened by nothing more than direct sunlight, which LEGO would clearly want to avoid.
    – zovits
    Commented Jul 29, 2022 at 8:47

3 Answers 3

5

Thanks everyone for the answers. It gave me the courage to take the piece to the cutting block... And guess what? I now have an almost functional piece. It's not extending 100% and sometimes I need to give a little push. But at least my son can play until I get a replacement on BL.

Here is what I did:

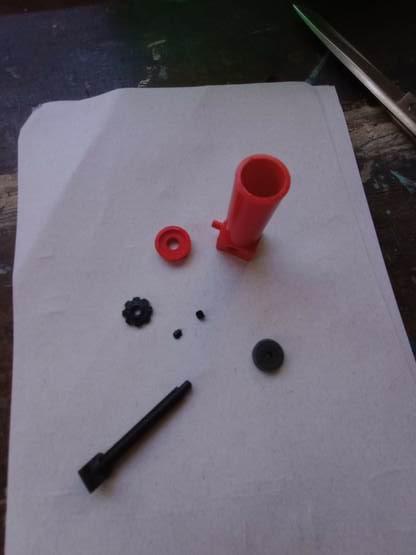
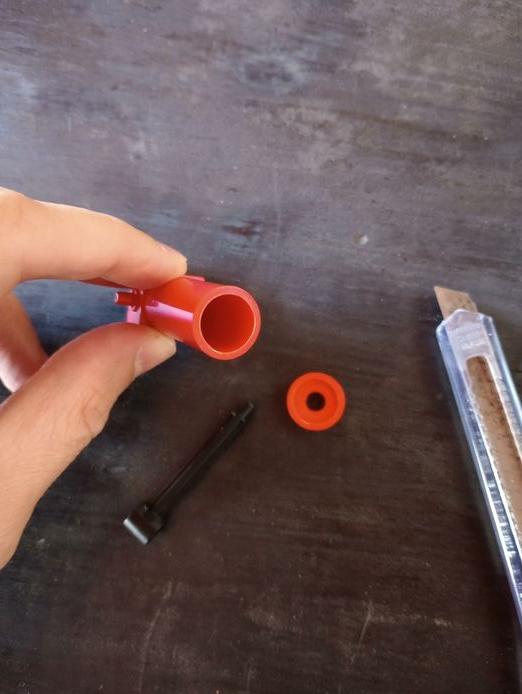
  1. Cut the top off with a sharp blade (yes, it isn't kind). Lego Cylinder - version 1 - with the top cut off

Inside is a rubber gasket and a plastic piece underneath it. The tip of the plastic shaft, which holds the plastic piece, was broken.

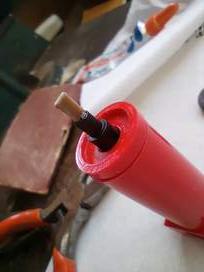
enter image description here

  1. Using a piece of PVC pipe, I made a small extension and glued it to the tip of the shaft. I used superglue and baking powder for that. Here is where things could have gone better. The extension was not very well aligned with the shaft. So the plastic support became a bit off-center. Had it been better aligned, I believe the fixed piston would work better.

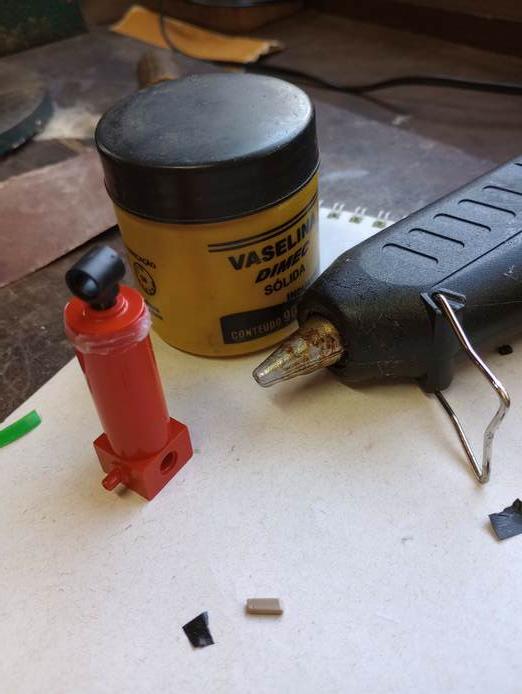
enter image description here

  1. I placed the rubber gasket and plastic support on the shaft and used hot glue to secure the piece in place. I then put a little Vaseline inside the cylinder and closed everything with hot glue. I decided to use hot glue in case I ever needed to open the cylinder again.

enter image description here

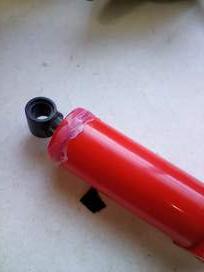
It's not pretty. But it works - sorts off

enter image description here

1
  • Nice photographs! Please note: It is perfectly acceptable on this site to accept your own answer after a few days as "the solution". Accepting any answer (by clicking on the checkmark to the left of the answer) will mark the question as solved make it available to cross-link it with (future) duplicate questions. And you can change your mind later and make another answer the "accepted answer" if necessary.
    – Tonny
    Commented Aug 3, 2022 at 12:48
4

The original glue was solvent based. This means that both sides of the joint are more or less fused/welded together. It is not a simple case of "2 pieces with glue in between".
Any solvent that dissolves the glue will also eat the plastic itself.

I think your best bet would be to use a very sharp scalpel or thin-bladed hobby knife to carefully score along the grove around the top until you have cut through.
That should give you a nice clear cut and (after gluing it back together) should be almost invisible.

I can't give you any good advice on what glue is best to use.
I've used acetone myself a couple of times, but found it dissolving the plastic too aggressively, which makes a precision glue-job next to impossible.
(It might be ok if used in very, very small amounts.)
Polystyrene glue (used for those plastic model-kits) will work on Lego, but doesn't have much strength. I doubt it would hold the cap in place when air-pressure is applied.
2

It might be hard or impossible to fix this so I'd rather address how to fix the issue of having non-functional element instead. You can look into acquiring a used version of the same LEGO item from Bricklink. It might be just cheaper, quicker and easier to do.

Your Answer

By clicking “Post Your Answer”, you agree to our terms of service and acknowledge you have read our privacy policy.

Not the answer you're looking for? Browse other questions tagged or ask your own question.