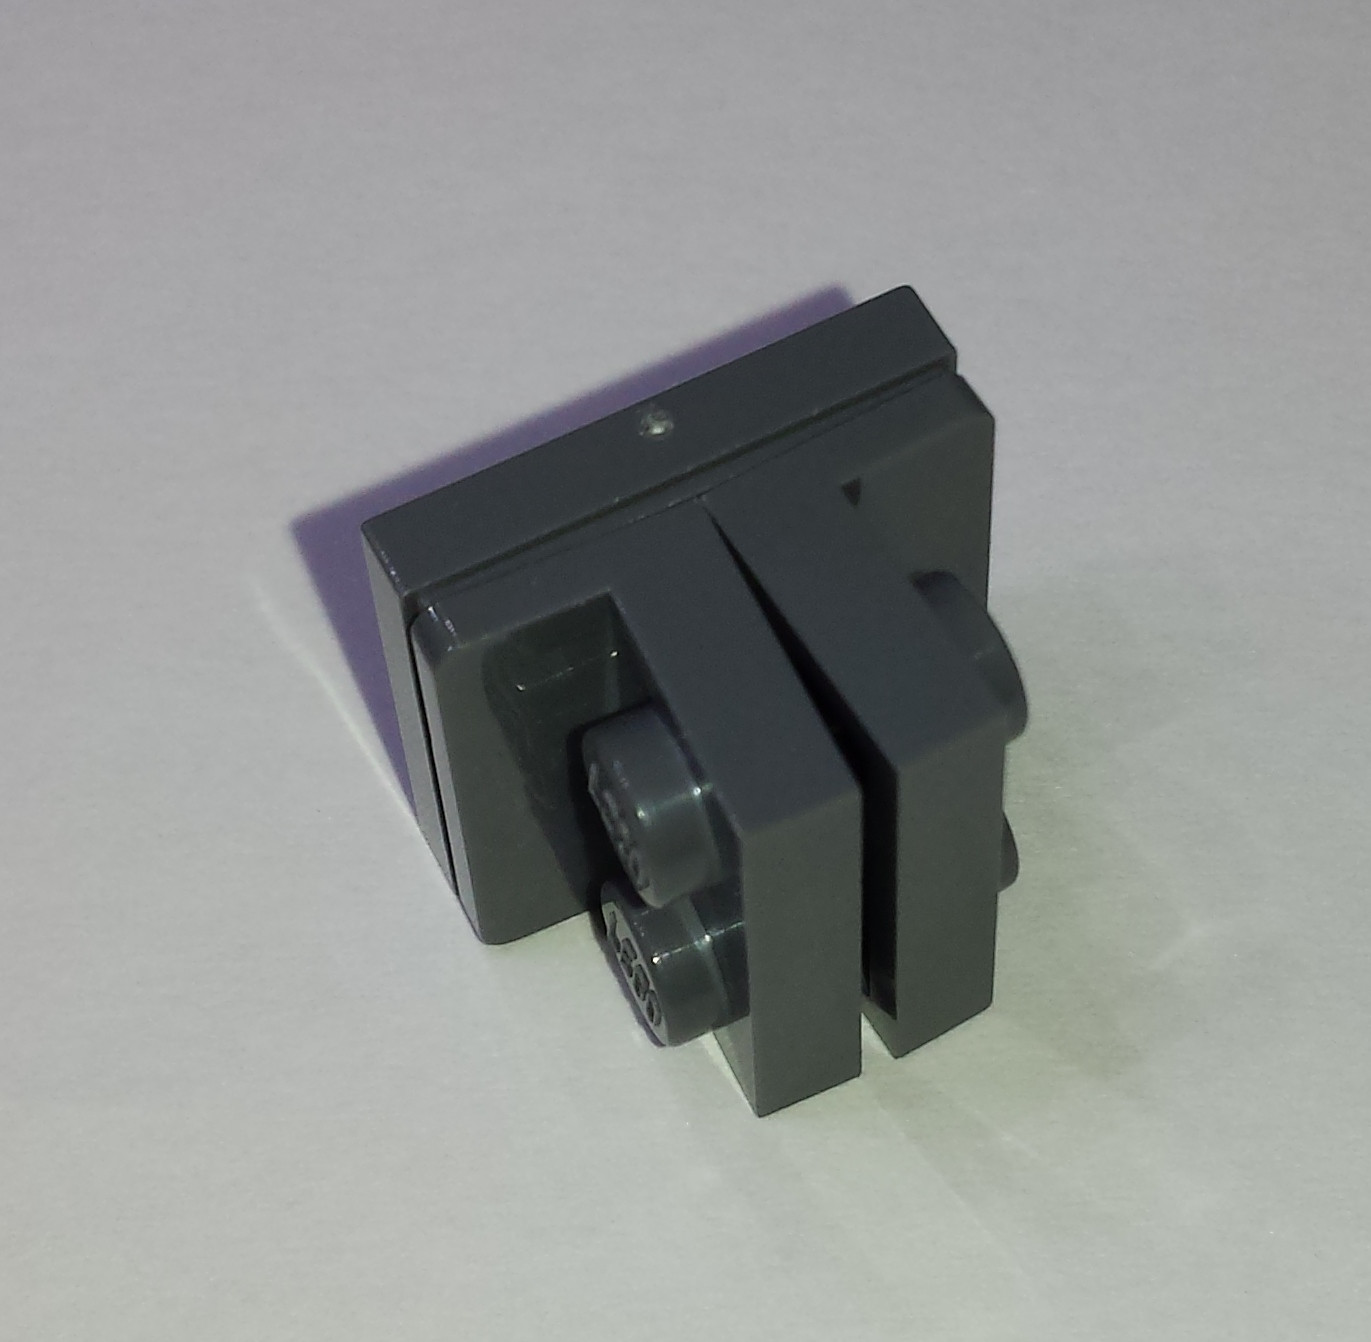
The short answer is because the combined height of the two mini inverted brackets is greater than the interior space of a tile (or brick for that matter.) But you knew this already.
I realize it isn't considered standard by the rest of the world, but because the only quality calipers I had access to tonight are customary, all these values will be in inches.
An average of several measurements gives me the following values for the dimensions of several key parts:
- average height of a 1x2 - 2x2 bracket............... 0.7221
- average height of a 1x2 - 2x2 inverted bracket...... 0.7278
- average height of a 1x2 - 1x2 bracket............... 0.4079
- average height of a 1x2 - 1x2 inverted bracket...... 0.4131
- average exterior width of a 2x2 tile................ 0.7239
- average interior width of a 2x2 tile................ 0.6028
Now, we all know that item 1 and 2 will fit flush onto a brick evenly if a plate is added to the other side.
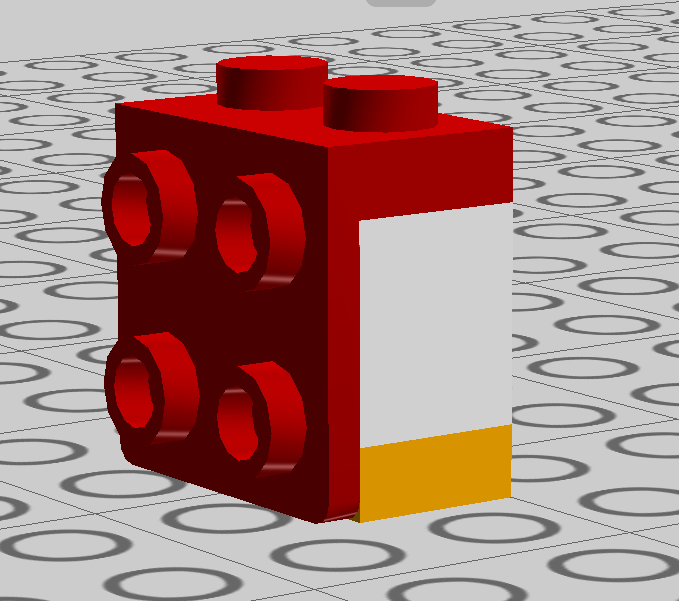
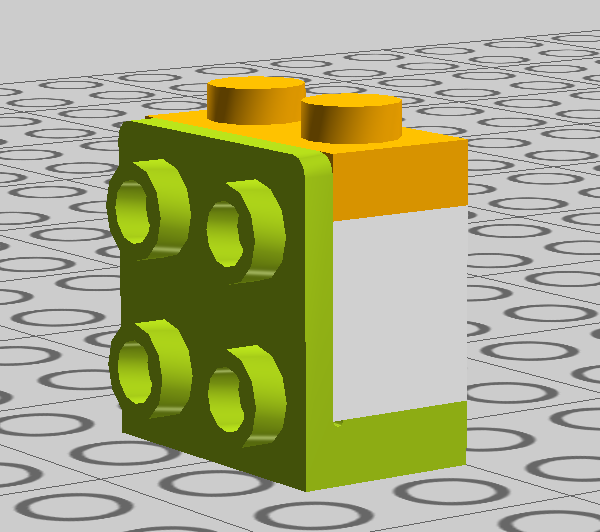
We also know that in practice, if you put 3 on a brick and 4 directly under that same position, the SNOT faces will adjoin where plates may be legally connected.
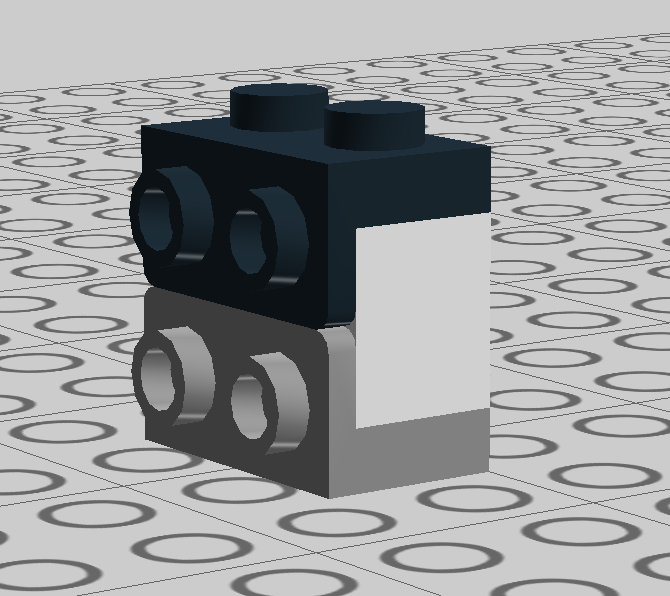
But here's the catch: adding the heights of 3 and 4 does not get 1. That sum does not even get 2.
It has to do with where the gap is. On items 1 and 2, the gap is under and above the SNOT part of these elements respectively. But the combination of 3 and 4 leaves the gap between those two plates. You can see this easily by attaching 4 to a brick and then laying a plate behind. You can see that the corner is square and there is no clearance like we see from hanging 1 off the side of a brick-and-plate.
This clearance, by my measurements, is 0.07 inches. This is the height of 4 that is placed at the corner (that leaves a gap between it and 3) This corner is what makes this technique fail. This corner also explains the reason that 3 and 4 are different heights although they suit similar purposes.
Finally, this explains why you can affix two 3 elements to the underside of a tile. Twice the sum of the height of the 3 is still less than the interior measure of the tile once horizontal tolerance is accounted for.
As a closing solution, I recommend using two 3s attached to a tile as that works in reality. But just to prove how complicated this measurement really is, LDD still thinks that your original problem is a legal connection.
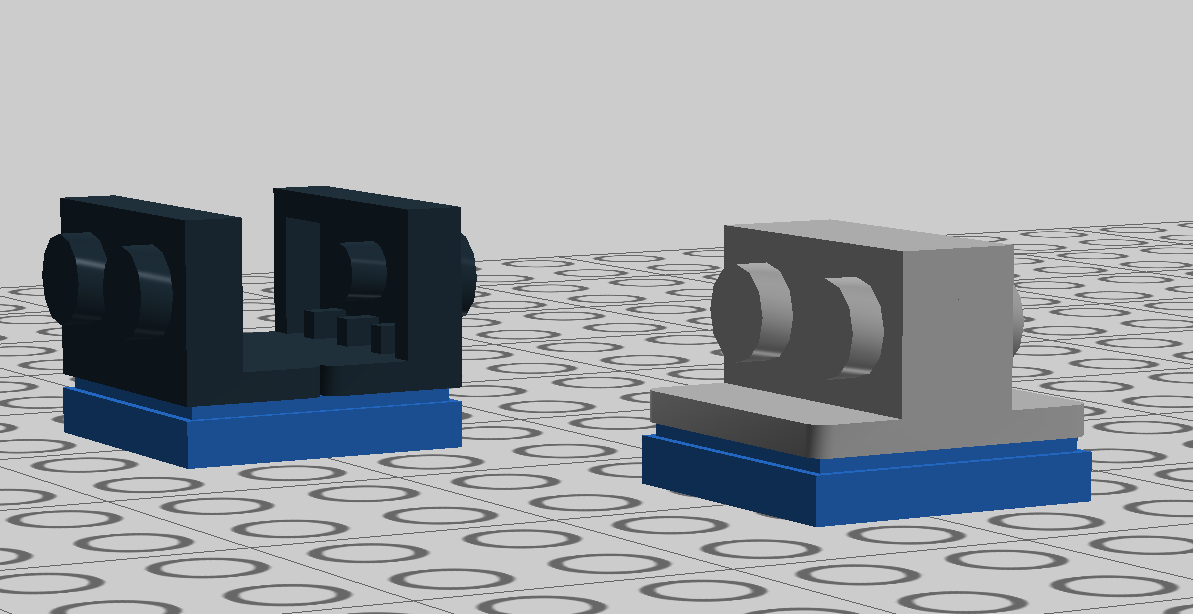 Hope this helps.
